_2024.svg)

We recommend using this opportunity to start fresh with your Carousel channels and content, rather than bringing over some stale messages and older content that you need to revisit anyway. We have a few simple channels available for free on our website, as well as Channel Branding Services that can take your organization’s look and feel and distill that into a new Carousel channel that’s totally you! If you DO want to move your existing channels/content please reach out to csm@carouselsignage.com for information on how to Export your Carousel Channels using the Clone Tool and get them over to us. Then once your content has been imported, simply follow the steps in this guide to finish up your journey to Carousel Cloud!
Please Note:
(Systems that have gradually updated from legacy systems from the early 2000s may experience some data translation issues and content may need to be recreated.)
Now that your Carousel content lives in the Cloud, you will need to configure your players to work with your Carousel Cloud Account. Please see the resources below for info on how to configure each player type:
( If reusing existing BrightSign players, please open a support ticket to schedule a Carousel 7 system update which prepares the players to migrate to Carousel Cloud. The BrightSign players must be series 3 or 4 models to work with Carousel Cloud)
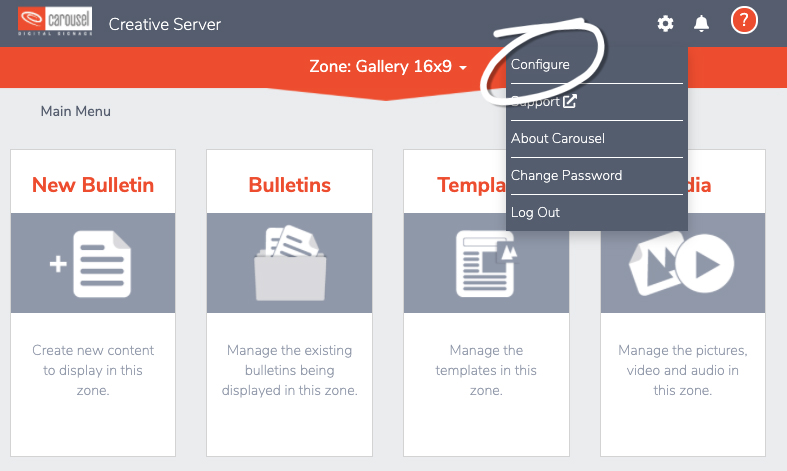
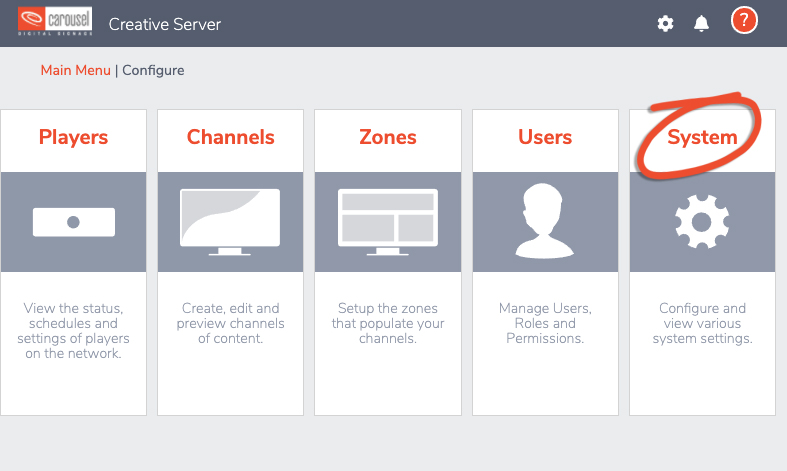
Login to Carousel Cloud, select your name, then select Configure.
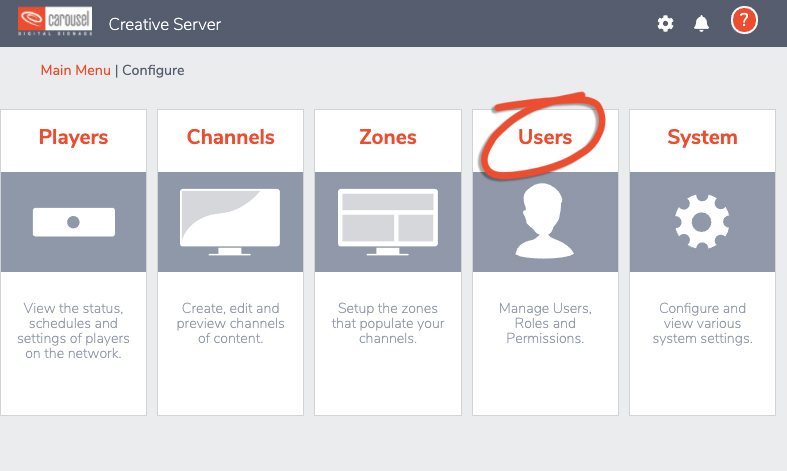
Next you will select users
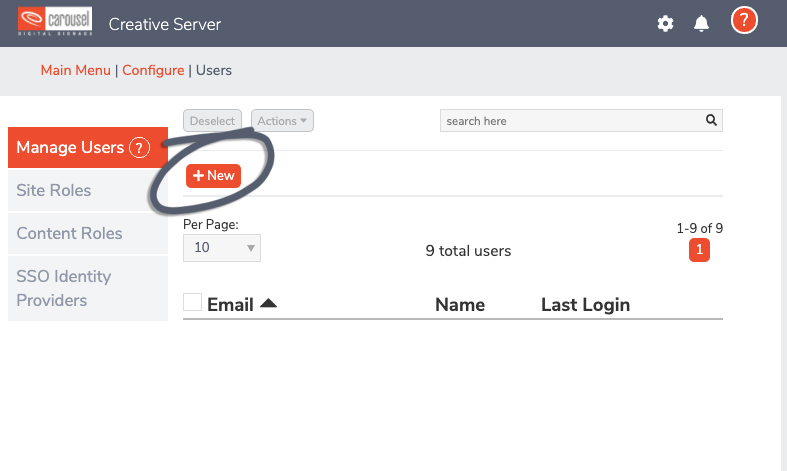
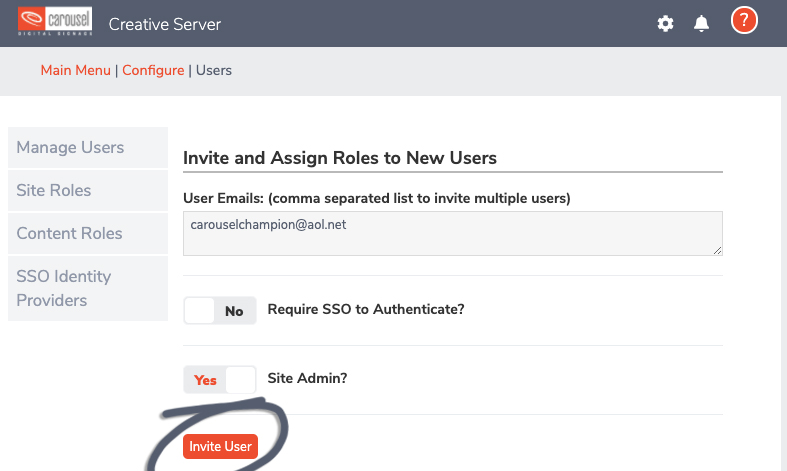
Simply enter in the email address(s) of those you’d like to invite to Carousel Cloud, set their access roles etc. and select Invite User.
Login to Carousel Cloud, select your name, then select Configure.
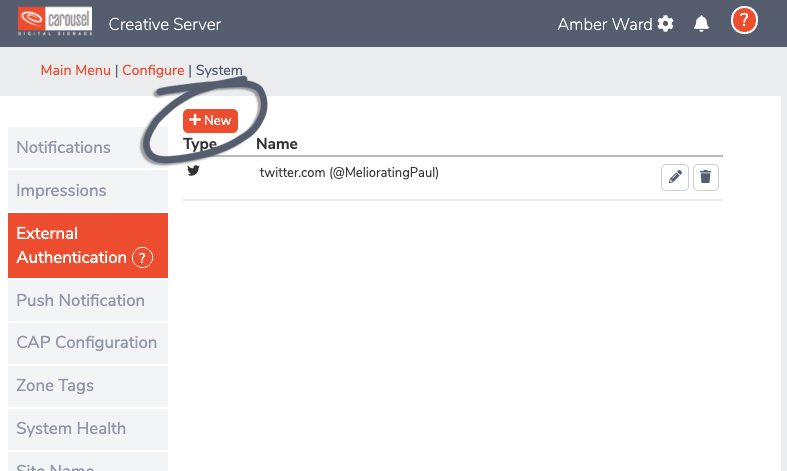
Select External Authentication then select New.
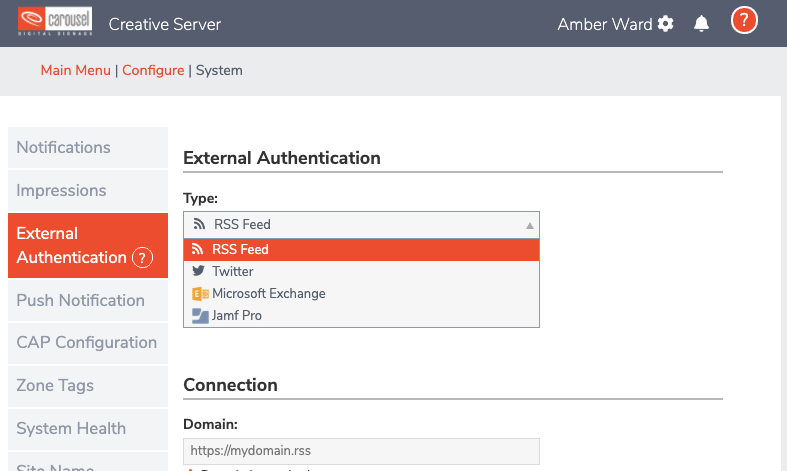
Simply select the authentication type from the drop-down menu, enter your info, and save the authentication.
If you previously used Channel Schedules, you will need to recreate them in your new Cloud account.
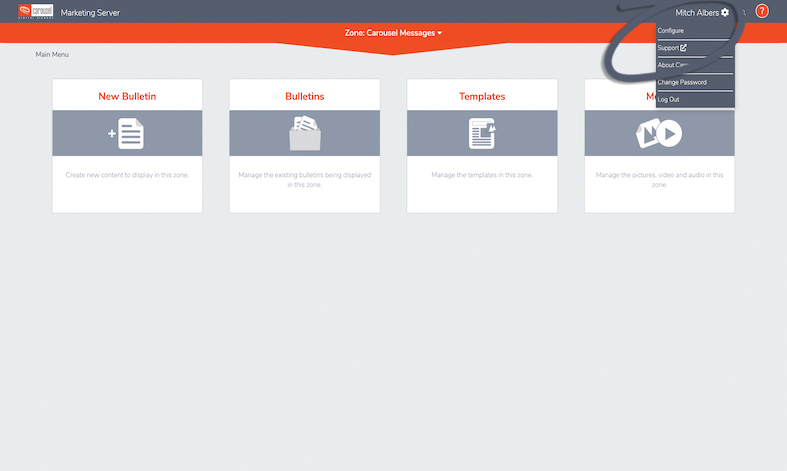
Login to Carousel Cloud, select your name, then select Configure.
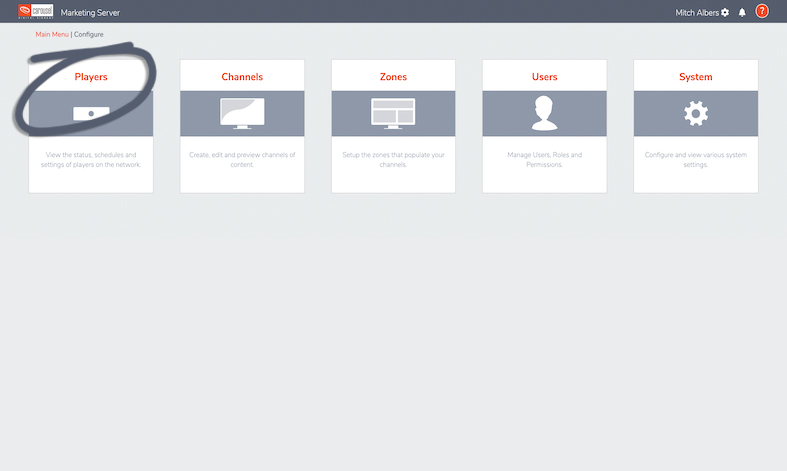
Next you will select Players.
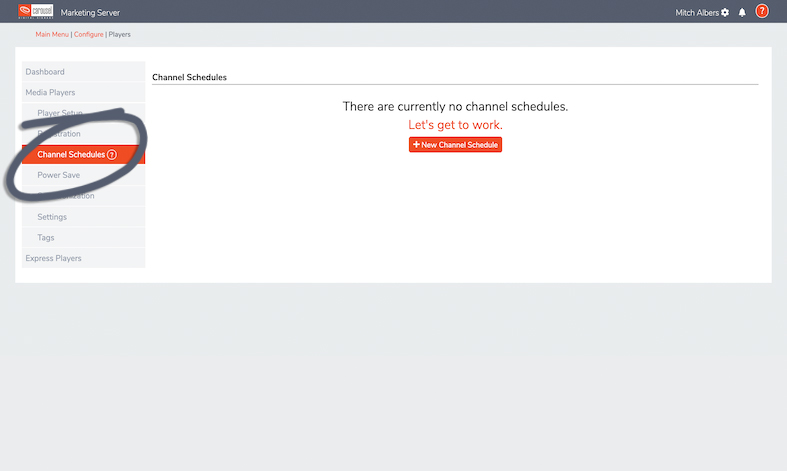
Select Channel Schedule from the left hand options menu. Click New Channel Schedule.
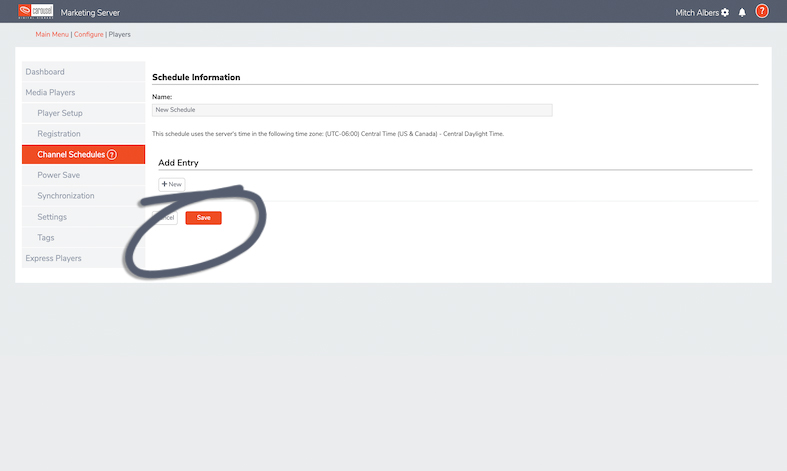
Simply name your schedule then add your entries. Click Save to finish creating your channel schedule.
If you previously used Monitor Control, this feature has been replaced by Power Save and you will need to recreate these settings in your new Cloud account.
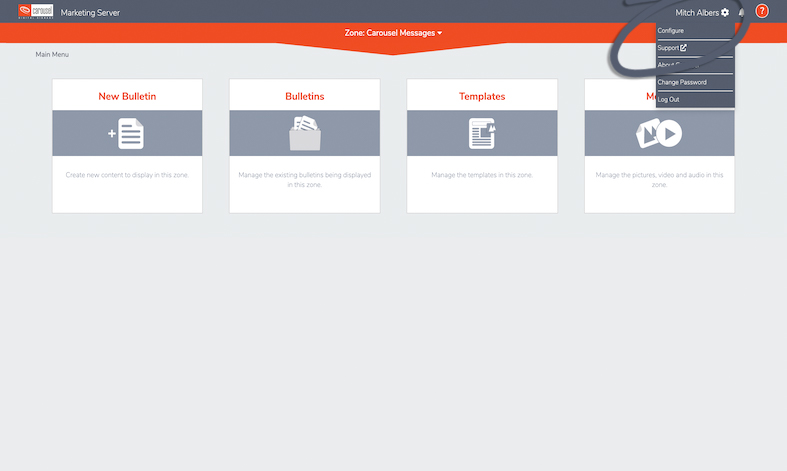
Login to Carousel Cloud, select your name, then select Configure.
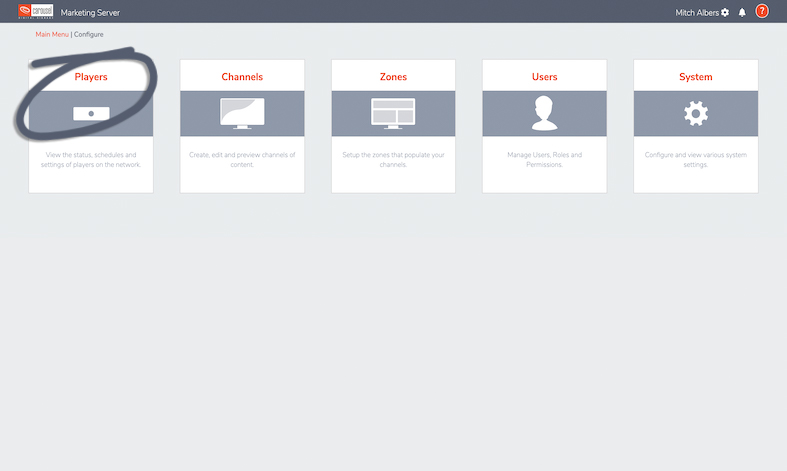
Next you will select Players.
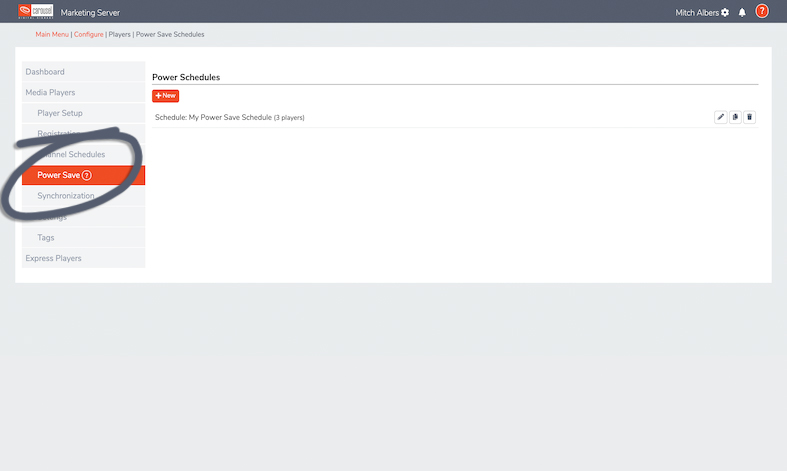
Select Power Save from the left hand options menu. Select New.
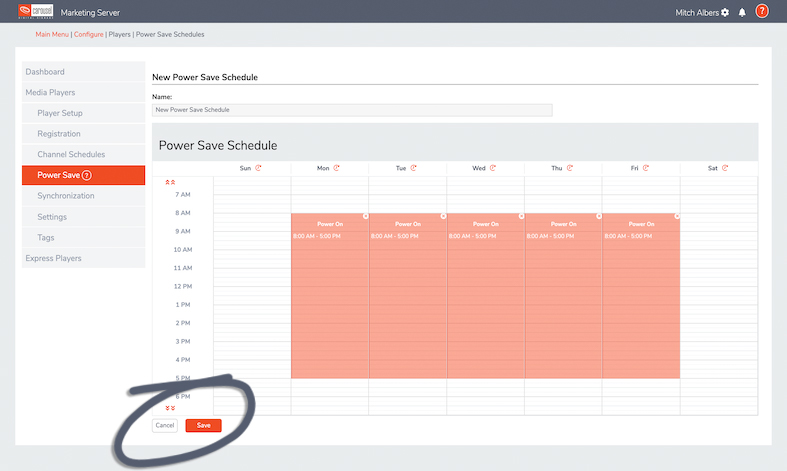
Choose the date and time you wish to have your monitors in Power Save mode. Click save to start your power save schedule.
When converting your channel from Carousel 7 to Carousel Cloud fonts automatically update to Arimo. If you want to change your fonts, you can use the guide below. A list of supported fonts in Carousel Cloud can be found here: Carousel Cloud Fonts
Any linked bulletins will become unlinked, you’ll need to manually re-link the bulletins.
You are responsible for re-configuring Carousel 7 custom projects or custom integrations to work with Carousel Cloud. We’ve partnered with these awesome companies to help you get what you need: Our Partners
Login to Carousel Cloud and click on Bulletins from the main menu. Select your bulletin, while your bulletin is highlighted, select the Actions Dropdown in the top left and choose Assign Owner. Select your new owner and click save.
(Note: This only needs to be done if users do not have Manage Bulletin rights.)
